
How to Install the UNICORN Binance DepthCache Cluster (UBDCC) on Kubernetes with Helm
A step-by-step guide to running your own Binance order book service on Kubernetes — live, always-in-sync market data served to any app, in any programming language, over a simple REST API. Works on any Kubernetes provider, including Vultr, OVHcloud and others.
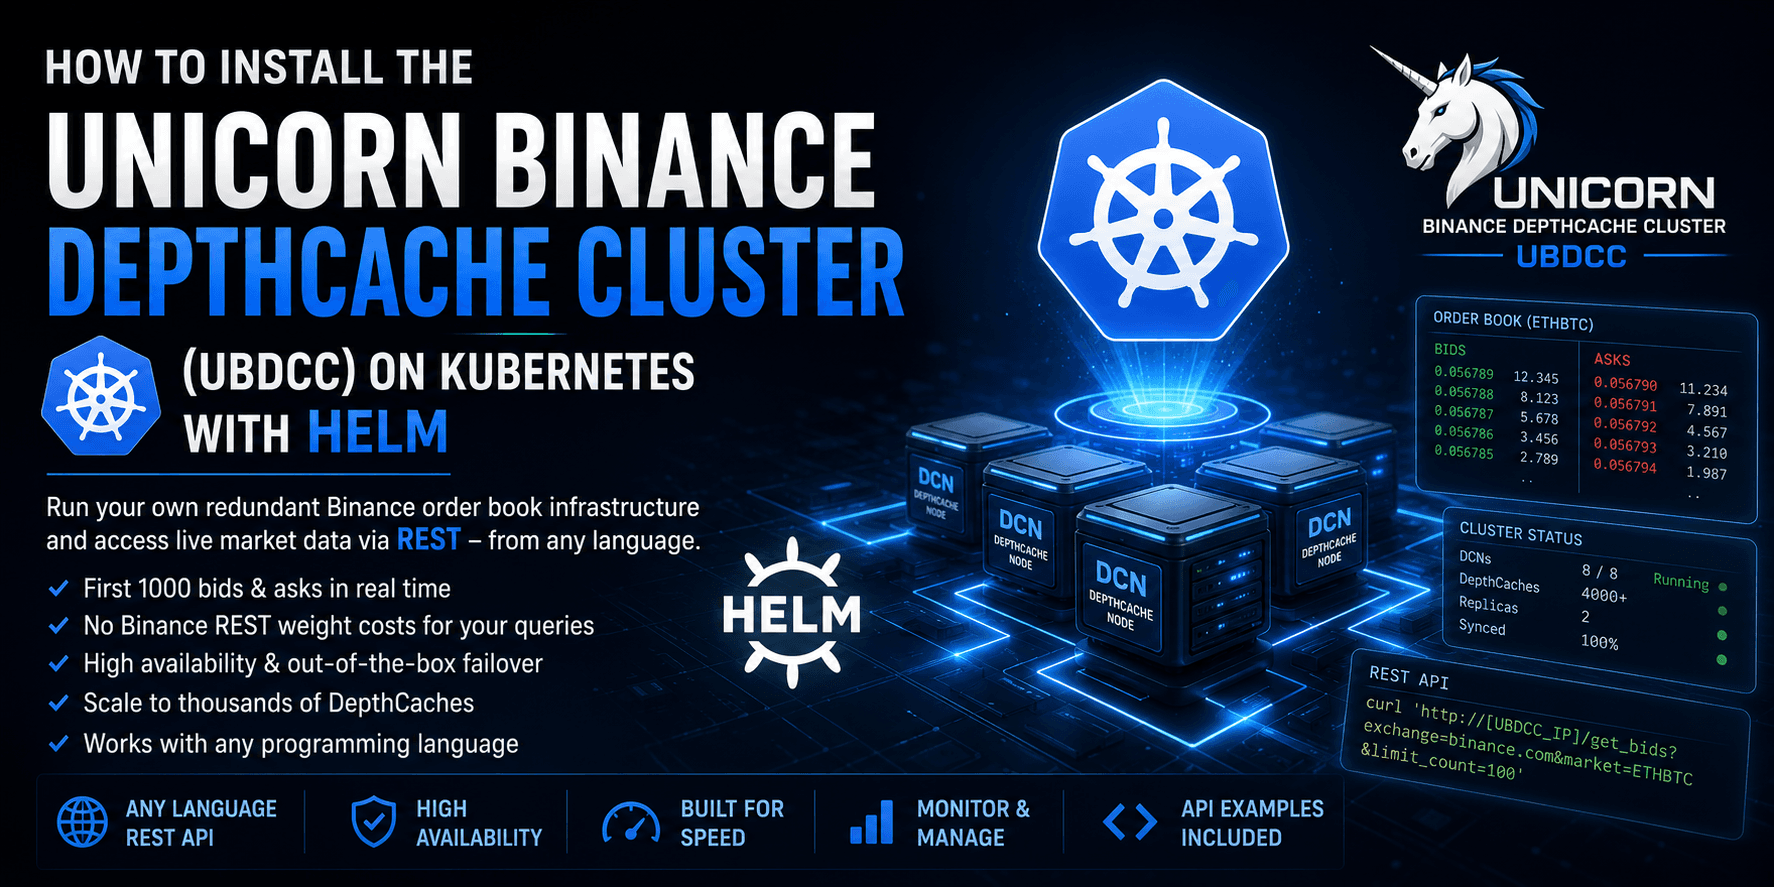
This guide shows you how to run your own service that provides the first 1000 bid and ask levels of Binance order book data in real time via REST — without Binance REST weight costs for your internal client requests.
In roughly 20 minutes, you can have your own redundant Binance order book infrastructure running on Kubernetes.
You get:
live Binance order book data
REST access from any programming language
out-of-the-box failover
high availability
no need for every trading bot to maintain its own fragile local order book
no Binance REST weight costs for your own internal queries against UBDCC
Of course, your own cluster still has limits. CPU, memory, network bandwidth and request volume still matter. But the important difference is this: your bots and applications no longer hammer Binance directly for every order book request. They query your own infrastructure instead.
In my own test setup, a 4-node Kubernetes cluster with 2 CPU cores and 2 GB RAM per node was able to run all active Binance Spot and Futures order books with 2 replicas each — roughly 4000 DepthCaches in total — without problems.
Important security note
In this tutorial, we keep things simple and beginner-friendly.
That also means: after installation, parts of the Kubernetes setup may be reachable from the public internet, depending on your cloud provider and firewall defaults.
The most obvious public entry point is the UBDCC REST API through the Kubernetes LoadBalancer. But do not only think about the REST API. Also check whether your worker nodes, node IPs, NodePorts, or internal UBDCC cluster endpoints are reachable from outside.
For a quick test, this is acceptable if you know what you are doing and clean it up afterwards.
For production, do not leave the cluster openly reachable.
The easiest and fastest protection is usually an IP whitelist in your cloud provider firewall. Allow only your own servers, office IPs, VPN exit IPs or trading infrastructure to access the cluster and the UBDCC REST API. Everything else should be blocked.
Later in this guide, I will point out again where this matters.
Speed is nice. An open unauthenticated market-data cluster on the internet is not.
What we are going to build
To get a working UBDCC setup, we need three things:
Creating the Kubernetes cluster is the only provider-specific part. I will show the process for OVHcloud and Vultr. Other managed Kubernetes providers work in a very similar way.
If you do not know Kubernetes yet, it can sound scary at first. But for this setup, you do not need to become a Kubernetes expert.
You can think of a managed Kubernetes cluster like renting a group of virtual machines from a cloud provider.
You register, choose something like:
Give me a Kubernetes cluster with 4 nodes, each with 2 CPU cores and 2 GB RAM.
Then you wait 5 to 10 minutes until the provider has created the cluster.
While that is happening, you install the command line tool kubectl on your local PC or laptop. This is the tool you use to control your Kubernetes cluster.
Once the cluster is ready, your cloud provider gives you a configuration file. You place that file in your home directory under .kube/config.
That is the connection between your local kubectl and your cloud Kubernetes cluster.
After that, you can test the connection with:
kubectl get nodes
If you see your nodes, your cluster is ready.
That was the difficult part. :)
From your perspective, the whole Kubernetes cluster now behaves a bit like one big Linux computer. You can install an application, and Kubernetes will automatically distribute the required containers across the available nodes.
To install UBDCC with one command, we use Helm.
Helm is the package manager for Kubernetes.
Once Helm is configured, UBDCC can be installed with a single command. Then you wait a few minutes, and the cluster is ready.
After that, you tell UBDCC which Binance DepthCaches it should create and how many replicas you want for failover.
Once the DepthCaches are created and synchronized, you can query them via REST from any application or programming language.
You can also manage everything via REST:
create DepthCaches
query existing DepthCaches
stop DepthCaches
get bids and asks
monitor the cluster
build API requests from your own software
The optional UBDCC Dashboard gives you a web interface for monitoring, management and API building. It can generate request examples for Python, JavaScript, Rust, Bash, C# and other languages.
Costs
The full test setup with all Binance Spot and Futures DepthCaches on 4 nodes, as described here, cost me less than 3 EUR/USD for a short test run.
For continuous operation, the cost depends mainly on:
number of nodes
number of DepthCaches
number of replicas
client request volume
provider pricing
network traffic
public LoadBalancers
For testing, use hourly billing where possible and delete the cluster and LoadBalancer afterwards. Depending on the provider, the LoadBalancer may remain billable even after the workloads are gone, so make sure it is actually removed.
Kubernetes cluster sizing
The nodes are the servers on which your Kubernetes workloads run. They can have different sizes, just like virtual machines.
A few practical thoughts:
More nodes usually means more public IPs.
More public IPs means more available Binance REST API weight for initialization snapshots.
The most important scalability factor is the number of DCNs.
DCN means
DepthCacheNode.The DCNs are the UBDCC components that actually manage the DepthCaches.
My current recommendation is 1 DCN per CPU core.
RAM usage is relatively low.
For this kind of setup, the cheapest systems with low RAM and 1–2 CPU cores are often the best starting point.
That gives you many nodes, many public IPs and enough DCNs.
For example:
4 nodes × 2 CPU cores = 8 DCNs
In my test, this was enough to manage all active Binance Spot and Futures order books with 2 replicas each — roughly 4000 DepthCaches in total.
The next important factor is your own query interval and client load. That depends on your setup and is something you should test yourself.
Binance API credentials
UBDCC can manage Binance API credentials.
You can add credentials either through the UBDCC REST API or through the UBDCC Dashboard.
For many public Binance.com Spot market-data use cases, public endpoints are enough. However, not every Binance environment behaves exactly the same.
For some exchanges or regional Binance endpoints, API credentials may be required to access the endpoints needed by UBDCC. One practical example is Binance TR: without API credentials, the initial order book snapshot required to build a DepthCache may not be available.
That matters because a DepthCache needs two things:
a WebSocket depth stream
an initial REST order book snapshot
Without the snapshot, the DepthCache cannot safely initialize.
Credentials can also matter for rate limits, account-specific access, regional APIs and authenticated endpoint handling. Do not assume that every Binance-like endpoint behaves exactly like Binance.com Spot.
For Binance.com Spot, Binance documents request-weight limits as IP-based, not API-key-based. So more API keys do not automatically mean unlimited request weight from the same IP.
For UBDCC, the practical rule is:
credentials may be required for some exchanges or regional Binance APIs
credentials can unlock authenticated or region-specific access
more Kubernetes nodes can help because they often provide more outgoing public IPs
more outgoing IPs can help with REST snapshot initialization
API keys are not a replacement for proper rate-limit handling
always respect
429responses and back off correctly
In short:
UBDCC can run without credentials where public endpoints are enough. But for some Binance environments, credentials are not optional — they are required for reliable DepthCache initialization.
The easiest way to add and manage credentials is the UBDCC Dashboard.
Create a Kubernetes cluster
OVHcloud
Register an account at https://www.ovhcloud.com and add a payment method.
Go to Public Cloud → Managed Kubernetes Service and click Create Cluster.

Choose a cluster name. I used
ubdcc.Select your preferred region.
For Select a plan, the free Kubernetes control plane should be enough.
Choose the suggested Kubernetes version.
For Private network, choose
Nonefor this beginner setup.Now create the node pool.
For testing, I recommend the
D2-4instance under Discovery, with 4 GB RAM and 2 vCores.Choose the number of nodes.
For a pure test, make sure to select hourly billing.
Give the node pool a name and click Add node pool.
When everything is ready, click Next and then Confirm cluster.
From this point on, it costs money.

OVHcloud will now create the Kubernetes cluster.
This usually takes around 5 to 10 minutes.

Once the status is
OK, click the cluster name and download the kubeconfig file.Click Download kubeconfig.

Place this file in your home directory under:
.kube/configThis applies to Windows, Linux and macOS.
Create the
.kubedirectory if it does not exist yet.The file must be named exactly:
configNot
config.txt.
Vultr
Register an account at https://www.vultr.com and add a payment method.
Go to Compute → Kubernetes and click Create Cluster.

Choose a cluster name. I used
ubdcc.The node pool requires a label. I used:
ubdcc-2cpu-2gbFor a first test, options like High Availability and Firewall are not required here. We keep this tutorial focused and simple.
Choose a node type, for example AMD High Performance.
Then select your preferred location.
When everything is ready, click Deploy Now.
From this point on, it costs money.

Vultr will now create the Kubernetes cluster.
This usually takes around 5 to 10 minutes.

Once the cluster is
active, click the cluster name and download the configuration file.Click Download Configuration.

Place this file in your home directory under:
.kube/configThis applies to Windows, Linux and macOS.
Create the
.kubedirectory if it does not exist yet.The file must be named exactly:
configNot
config.txt.
Install kubectl and Helm
kubectl
kubectl is the command line tool used to control your Kubernetes cluster.
Install it on your local machine as described here:
https://kubernetes.io/docs/tasks/tools/
You should already have placed the kubeconfig file from your provider at:
.kube/config
That means kubectl should already know how to connect to your cluster.
Test it with:
kubectl get nodes
If everything works, you should see your Kubernetes nodes.

Helm
Helm is the package manager for Kubernetes.
It allows you to install, configure, upgrade and remove Kubernetes applications in a clean and repeatable way.
Install Helm on your local machine as described here:
https://helm.sh/docs/intro/install/
After Helm is installed, add the UBDCC Helm repository:
helm repo add ubdcc https://oliver-zehentleitner.github.io/unicorn-binance-depth-cache-cluster/helm
helm repo update
Now Helm knows where to find the UBDCC chart.
Deploy UBDCC
Before installing UBDCC, we install the Kubernetes Metrics Server.
UBDCC uses Kubernetes metrics to determine how many DCNs should be started when you use automatic DCN scaling based on CPU cores.
Install the Metrics Server with:
kubectl apply -f https://github.com/kubernetes-sigs/metrics-server/releases/latest/download/components.yaml

From my experience, it is best to wait at least 5 minutes after installing the Metrics Server.
After that, deploy UBDCC with Helm.
Set dcn.coresPerNode to the number of CPU cores per node.
For example, if each node has 2 CPU cores:
helm install ubdcc ubdcc/ubdcc --set dcn.coresPerNode=2

That is it.
Now wait a few minutes until all containers have started.
In the meantime, let us look at a few basic Kubernetes monitoring commands.
Basic Kubernetes monitoring
Except for installing UBDCC with Helm, most day-to-day checks are done with kubectl.
To see the pods created for UBDCC, run:
kubectl get pods

Pods are Kubernetes workloads running container images.
For UBDCC, you will see different types of pods:
ubdcc-mgmt-0
This is the management component.
It coordinates the UBDCC service and manages the cluster logic.
ubdcc-restapi-*
These pods expose the REST API.
They handle client requests and route them to the correct DepthCacheNode.
ubdcc-dcn-*
These are the DepthCacheNodes.
They create, synchronize and serve the Binance DepthCaches.
To view the logs of a pod, use:
kubectl logs ubdcc-mgmt-0
To open a shell inside a container, use:
kubectl exec --stdin --tty ubdcc-mgmt-0 -- /bin/bash
To check resource usage, use:
kubectl top nodes
kubectl top pods

Kubernetes and kubectl can do much more, but that is enough for this guide.
We want to run UBDCC, not write a Kubernetes book.
How to find the UBDCC REST API IP
During installation, Kubernetes created a LoadBalancer service for the UBDCC REST API.
This LoadBalancer forwards traffic to the ubdcc-restapi-* pods.
To find the public IP address of your UBDCC REST API, run:
kubectl describe services ubdcc-restapi

It can take several minutes until the cloud provider has created the LoadBalancer and assigned a public IP.
The correct IP is shown under:
LoadBalancer Ingress
In my case, it was:
80.240.27.170
A simple browser test is:
http://[YOUR_UBDCC_IP]/get_cluster_info
Example:
http://80.240.27.170/get_cluster_info
If you get a response, UBDCC is reachable and ready to use.
And yes: at this point it is also reachable from the public internet.
For a quick test, okay.
For anything serious, restrict access with a firewall or IP whitelist.
Create a DepthCache with 2 replicas
Now we create a Binance Spot DepthCache for ETHBTC with 2 replicas.
curl 'http://[YOUR_UBDCC_IP]/create_depthcache?exchange=binance.com&market=ETHBTC&desired_quantity=2'
It takes a few seconds until the DepthCache is created and synchronized.
Once it is ready, query the first 100 asks:
curl 'http://[YOUR_UBDCC_IP]/get_asks?exchange=binance.com&market=ETHBTC&limit_count=100'
Query the first 20 bids:
curl 'http://[YOUR_UBDCC_IP]/get_bids?exchange=binance.com&market=ETHBTC&limit_count=20'
That is the basic idea.
Your application does not need to build and maintain its own Binance order book anymore.
It can just ask UBDCC.
Using the UBDCC Dashboard
The easiest way to explore the REST API is the UBDCC Dashboard:
https://github.com/oliver-zehentleitner/ubdcc-dashboard


With the dashboard, you can:
manage Binance credentials
create DepthCaches for markets
monitor the UBDCC cluster
inspect cluster status
use the API Builder
generate request examples for different programming languages
The API Builder helps you create working requests for languages like:
Python
JavaScript
Rust
Bash
C#
and others

The dashboard runs locally on your PC or laptop.
You need Python installed.
Install it with:
pip install -U ubdcc-dashboard
Start it from the command line with:
ubdcc-dashboard start
Then connect it to your cluster:
http://[YOUR_UBDCC_IP]
Firewall and access control
At this point, your UBDCC REST API may be publicly reachable.
Again: that is okay for a short test, but not for production.
The simplest practical setup is usually:
keep the Kubernetes LoadBalancer
restrict access using the cloud provider firewall
allow only trusted source IPs
deny everything else
For example, allow only:
your trading servers
your office IP
your VPN exit IP
your monitoring infrastructure
This gives you a simple IP whitelist without making the tutorial more complicated.
More advanced setups are possible later:
private networking
VPN-only access
reverse proxy with authentication
API gateway
Kubernetes Ingress with auth
mTLS
private LoadBalancers
But for this beginner guide, IP whitelisting is the fastest useful security layer.
Do not leave your REST API openly accessible just because the test worked.
Uninstall and reset
To remove UBDCC and the Metrics Server, run:
helm uninstall ubdcc
kubectl delete -f https://github.com/kubernetes-sigs/metrics-server/releases/latest/download/components.yaml
Important:
After uninstalling UBDCC, check your cloud provider dashboard and make sure the public LoadBalancer forubdcc-restapiis gone.
Some providers keep external LoadBalancers as separate billable resources.
If this was only a test, delete the cluster and the LoadBalancer.
If you want to reset the UBDCC deployment, I recommend uninstalling it first:
helm uninstall ubdcc
Then install it again:
helm install ubdcc ubdcc/ubdcc --set dcn.coresPerNode=2
If this was only a short test, also delete the Kubernetes cluster in your cloud provider dashboard.
Important: also check that the public LoadBalancer created for ubdcc-restapi has been deleted. Depending on the cloud provider, external LoadBalancers can remain billable resources even when the application itself has already been removed.
Otherwise, the nodes or LoadBalancer may keep running and keep costing money.
Conclusion
That is the whole setup.
You created a managed Kubernetes cluster, connected it with kubectl, installed Helm, deployed UBDCC and created your first Binance DepthCache with replicas.
The result is a redundant Binance order book service that can be used by any application over REST.
Instead of every bot maintaining its own fragile local order book, you can run the order book infrastructure once and let all your systems consume it.
That is the main idea behind UBDCC:
Build the market-data infrastructure once.
Keep it synchronized.
Add failover.
Serve it over REST.
Use it from any language.
For small tests, this is already useful.
For larger trading infrastructure, it becomes even more interesting.
Because at some point, the question is no longer:
How does this one bot get an order book?
The better question is:
UBDCC gives you a different answer.
I hope you found this informative and useful.
Follow me on Binance Square, GitHub, X, and LinkedIn, or join Telegram for updates on my latest publications. Constructive feedback is always appreciated.
Thank you for reading, and happy coding! ¯\_(ツ)_/¯